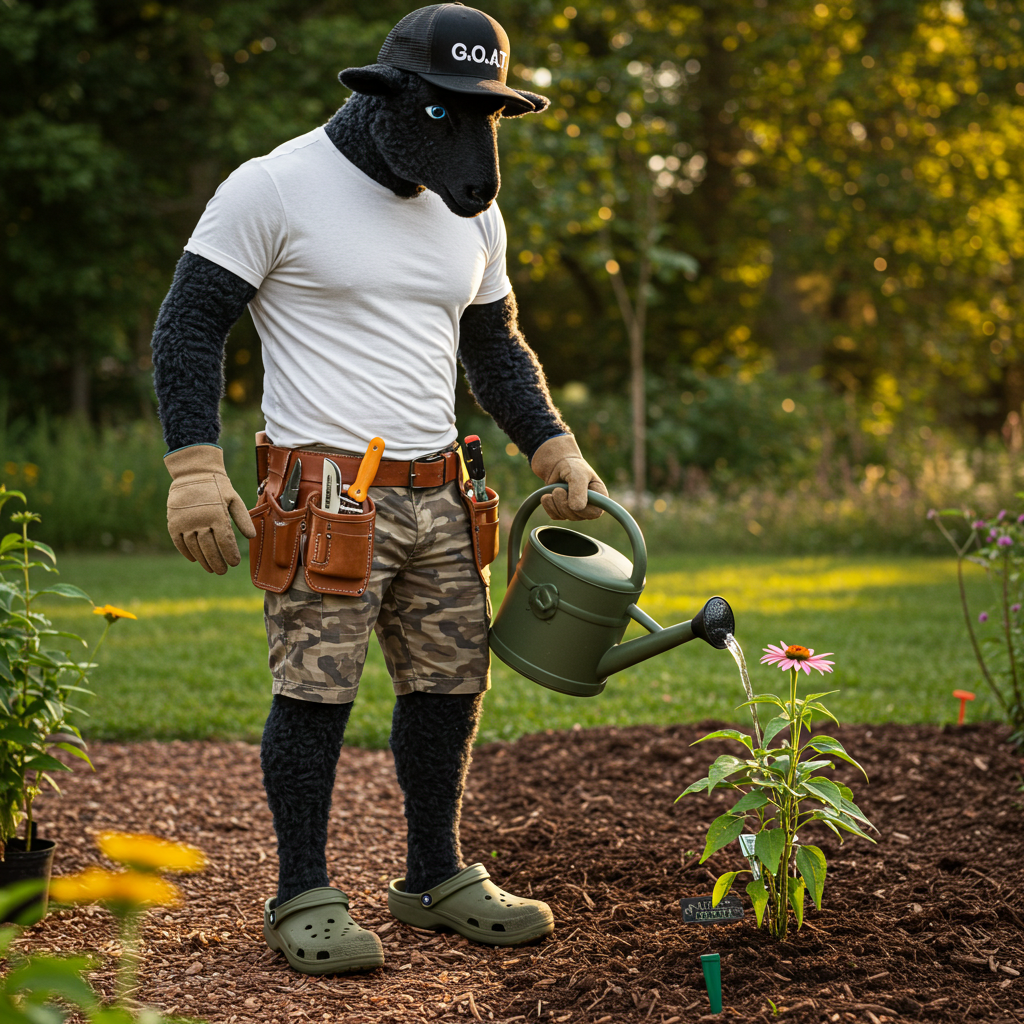
How to Plant Perennials: Step-by-Step for New Gardeners

How to Plant Your First Perennials
A Step-by-Step Guide for New Gardeners
Maybe you picked up a pot of coneflowers at the garden centre because they made you smile. Or maybe someone gave you a little hosta and said, “Just plant it, it’ll come back.” However you got here—welcome. You’re officially a gardener now.
Planting perennials is one of the most satisfying ways to build a garden that grows more beautiful each year. And while the world of gardening can feel like it’s filled with secret handshakes and Latin names, don’t worry—we’re keeping it simple, joyful, and absolutely beginner-friendly.
🌿 What Is a Perennial, Anyway?
Quick refresher: A perennial is a plant that lives for more than two years. Unlike annuals (which bloom once and bow out), perennials return year after year, often growing bigger and better with time.
Think: echinacea, hosta, daylilies, ferns, grasses, and more.
They may die back in winter, but their roots are down there, waiting patiently for spring.
🧤 Step-by-Step: Planting Perennials with Confidence
🪴 1. Choose the Right Spot
Light matters. Check your plant tag—it’ll tell you whether your perennial loves full sun, part shade, or full shade.
☀️ Full sun: 6+ hours of direct sunlight
🌤 Part shade: Morning sun or dappled light
🌑 Full shade: Less than 4 hours of direct sun
💡 Tip: Watch your space for a day before planting. Morning sun? Afternoon sizzle? Gentle shade? It all matters.
🪵 2. Prepare the Soil
Perennials are long-term tenants—give them a good foundation.
-
Clear the area of weeds and grass
-
Loosen the soil with a trowel or garden fork
-
Mix in compost if the soil is heavy or sandy (think: adding a little fluff and nutrition)
💧 You want soil that drains well but holds moisture—like a wrung-out sponge.
🌱 3. Dig the Hole
Your planting hole should be about twice as wide as the plant’s container and just as deep.
Why? So roots can spread out easily without being buried too deep.
🪻 4. Gently Remove the Plant
Turn the pot on its side, squeeze gently, and slide the plant out. If the roots are tightly packed or circling (rootbound), tease them apart with your fingers. It feels a bit rude, but it helps the plant settle in.
🏡 5. Place & Backfill
Set the plant in the hole at the same level it was in the pot. Not deeper, not shallower—just right.
Fill the hole with soil, pressing gently to eliminate air pockets. No stomping—just firm, loving pats.
💦 6. Water It In
Give your plant a deep, thorough watering right after planting. This helps settle the soil and signals to the roots: you’re home now.
🌧️ Keep an eye on it for the first few weeks—water when the soil feels dry about an inch down.
🌿 7. Mulch (Optional, But Smart)
A 2–3 inch layer of mulch around your plant helps keep moisture in and weeds out. Just keep it away from the crown (the base of the plant) so it doesn’t rot.
✨ Extra Tips for New Gardeners
-
Don’t overcrowd. Perennials need space to grow—check spacing on the tag.
-
Be patient. First year they sleep, second they creep, third they leap.
-
Label everything. Especially if your memory is like a spring squirrel’s.
-
Ask questions. Gardeners love to share— email us or a local garden club.
🌸 Final Thoughts: You Just Did That
You dug a hole. You planted a thing. You watered it in. And now? You’ve started something beautiful.
Gardening isn’t about knowing everything—it’s about noticing. Checking in. Trying again. It’s a relationship. And you just took the first step.
So give yourself a high five, take a photo of your plant baby, and get ready to greet it again next spring like an old friend.

